 ClefSnap
How to photograph sheet music for a clean scan
A music reader can only read what it can see. A few seconds spent on the photo saves far more time correcting bars afterwards.
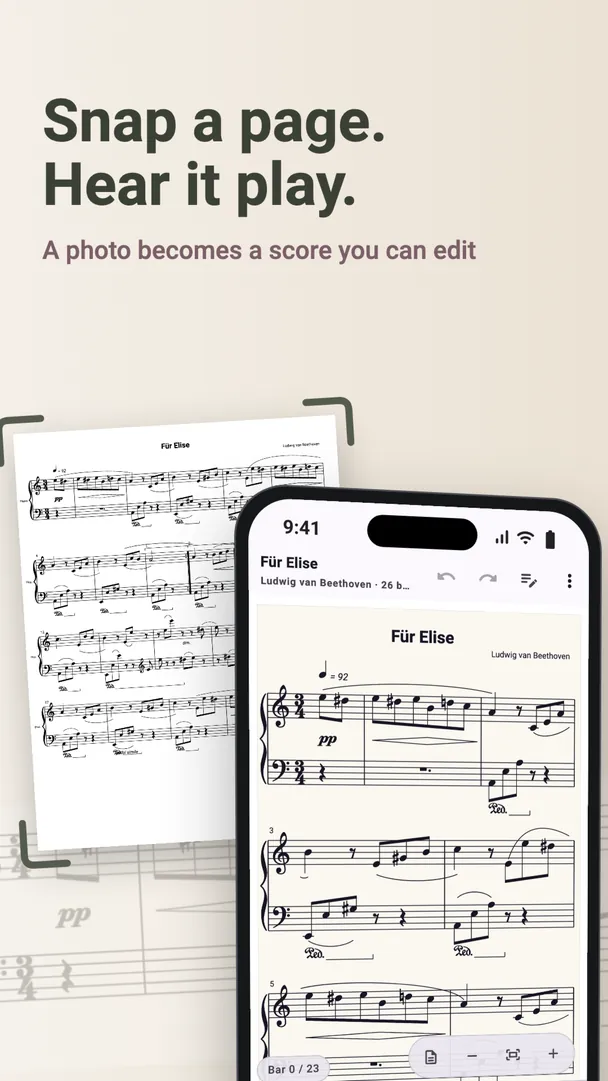
1. Hold the phone straight above the page
Look down at the music from directly overhead, with the phone parallel to the paper. A photo from an angle makes the far staves smaller and their lines closer together, which is harder to read.
2. Use even light
Avoid the shadow of your hand or phone, and avoid glare on glossy paper. Daylight from a window, or a room with several lights, is better than a single lamp to one side. If you must use flash, check for a bright spot in the middle of the page.
3. Flatten the page
Staff lines should be straight. A curve near the spine of a book bends them, so press the book open, or photograph one page at a time. Loose sheets are easiest of all.
4. Fill the frame, and keep every edge
Get close enough for the staves to be large, but leave a small margin of paper all the way around. A cut-off bar cannot be read, and neither can a first line where the clef has been cropped away.
5. Hold still and let it focus
Small marks such as dots, accidentals and thin beams are the first things blur removes. Rest your elbows on the table, tap to focus if you need to, and check the photo before moving on.
6. Go easy on older prints
Faded ink, yellowed paper and show-through from the other side all make reading harder. Give these pages the best light you can, and expect a few more bars to review.
7. Check the bars the app asks about
When ClefSnap is unsure of a bar, it shows you the printed bar and asks. If it asks about a lot of them, retaking the photo is often quicker than answering each one.